Showing posts with label Painting. Show all posts

The Slowest Makeover of All Time

Tuesday, February 5, 2013

I know it's been forever and a day since I even mentioned any progress on our master bedroom makeover but there has been a little. I think we left off last summer (eek!) when I shared our updated bedding and I figured it was about time to show you the updated paint job as well as the furniture update.

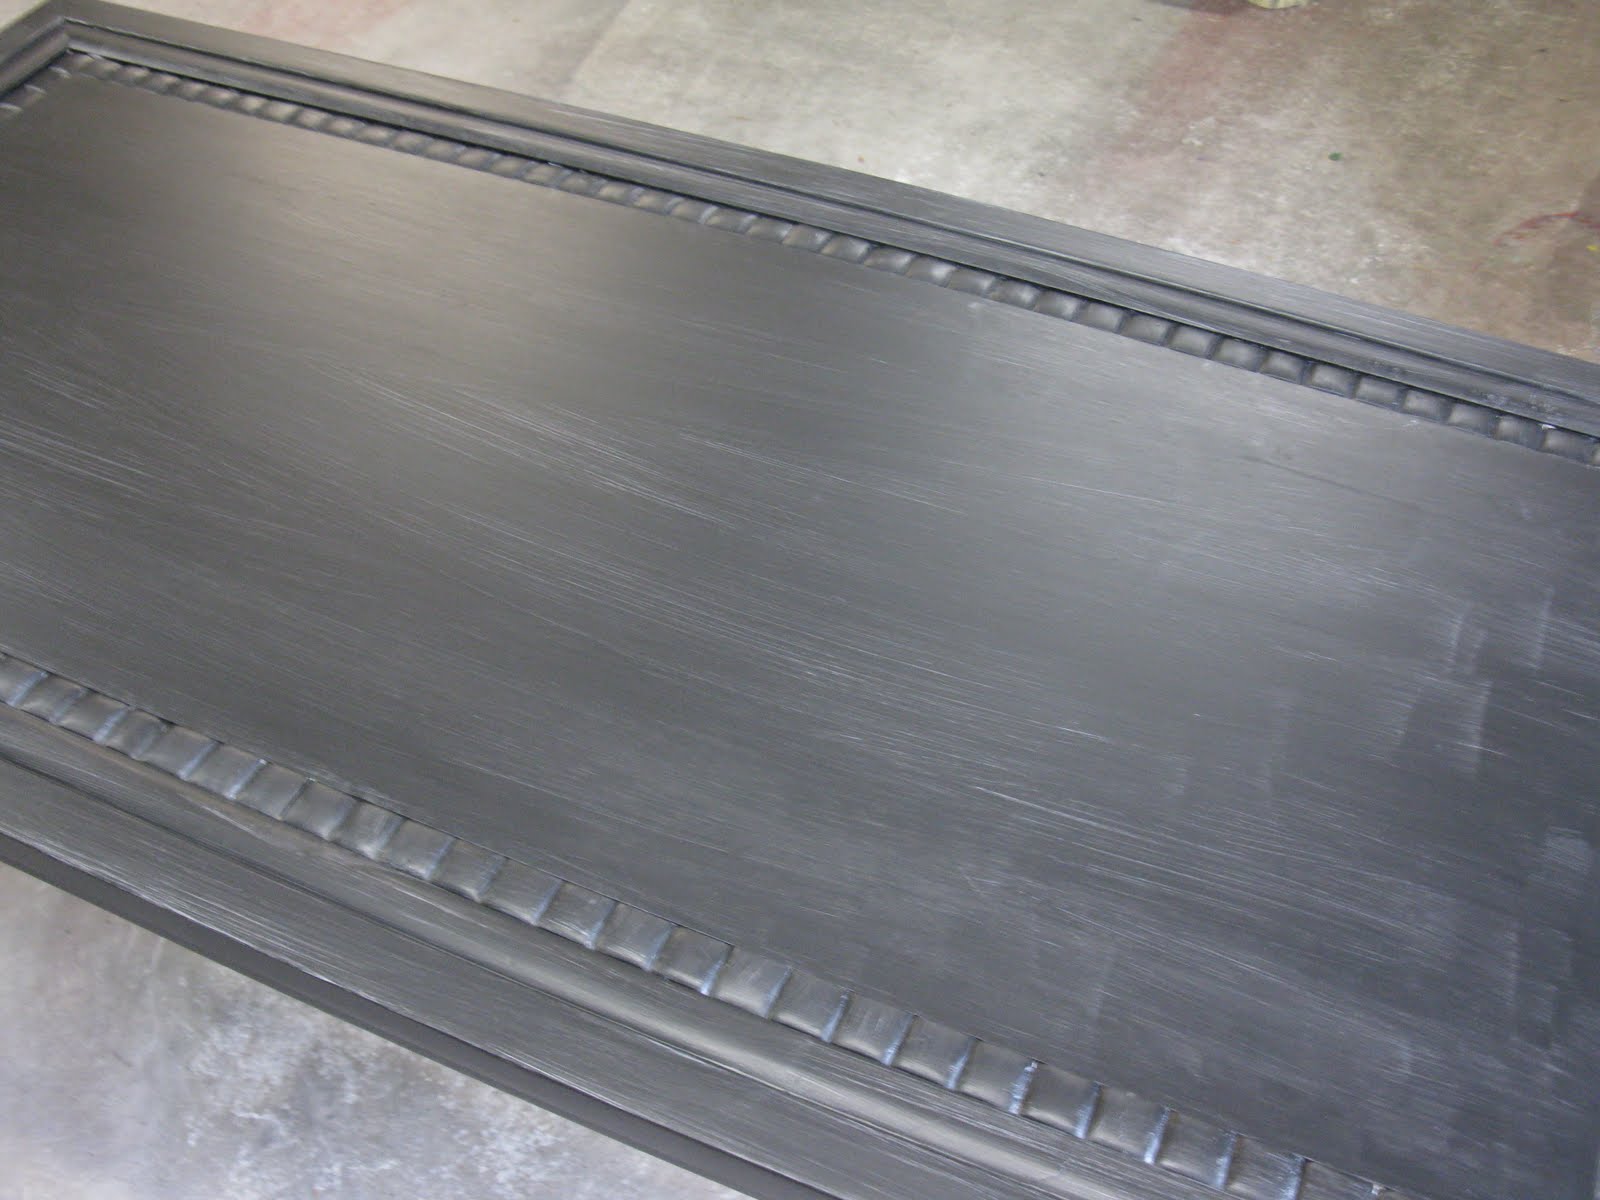
First things first, the paint. I took forever and a day to pick out a paint color. I wanted it to be a neutral color (I'm not brave enough for bold colored walls) but yet a little different than the other colors in our house. I finally settled on a Sherwin Williams color called Versatile Gray. I feel like that is the perfect description of the color. It's warm and cool at the same time and doesn't seem to have any glaring blue or green undertones that are so common with grey paint colors.


Next update is regarding the dresser and nightstand situation (pretend you didn't see the nightstands in the pictures above). Our original plan after getting the new bed was to find some different coordinating pieces to finish out the room. This plan didn't last very long. We tried looking around at local furniture stores and looking for pieces on craigslist but we just weren't able to find anything to suit our needs. When it came down to it we liked the Hemnes six-drawer dresser the best out of anything we'd seen so in July when Ikea had a sale on Hemnes furniture we picked it up.


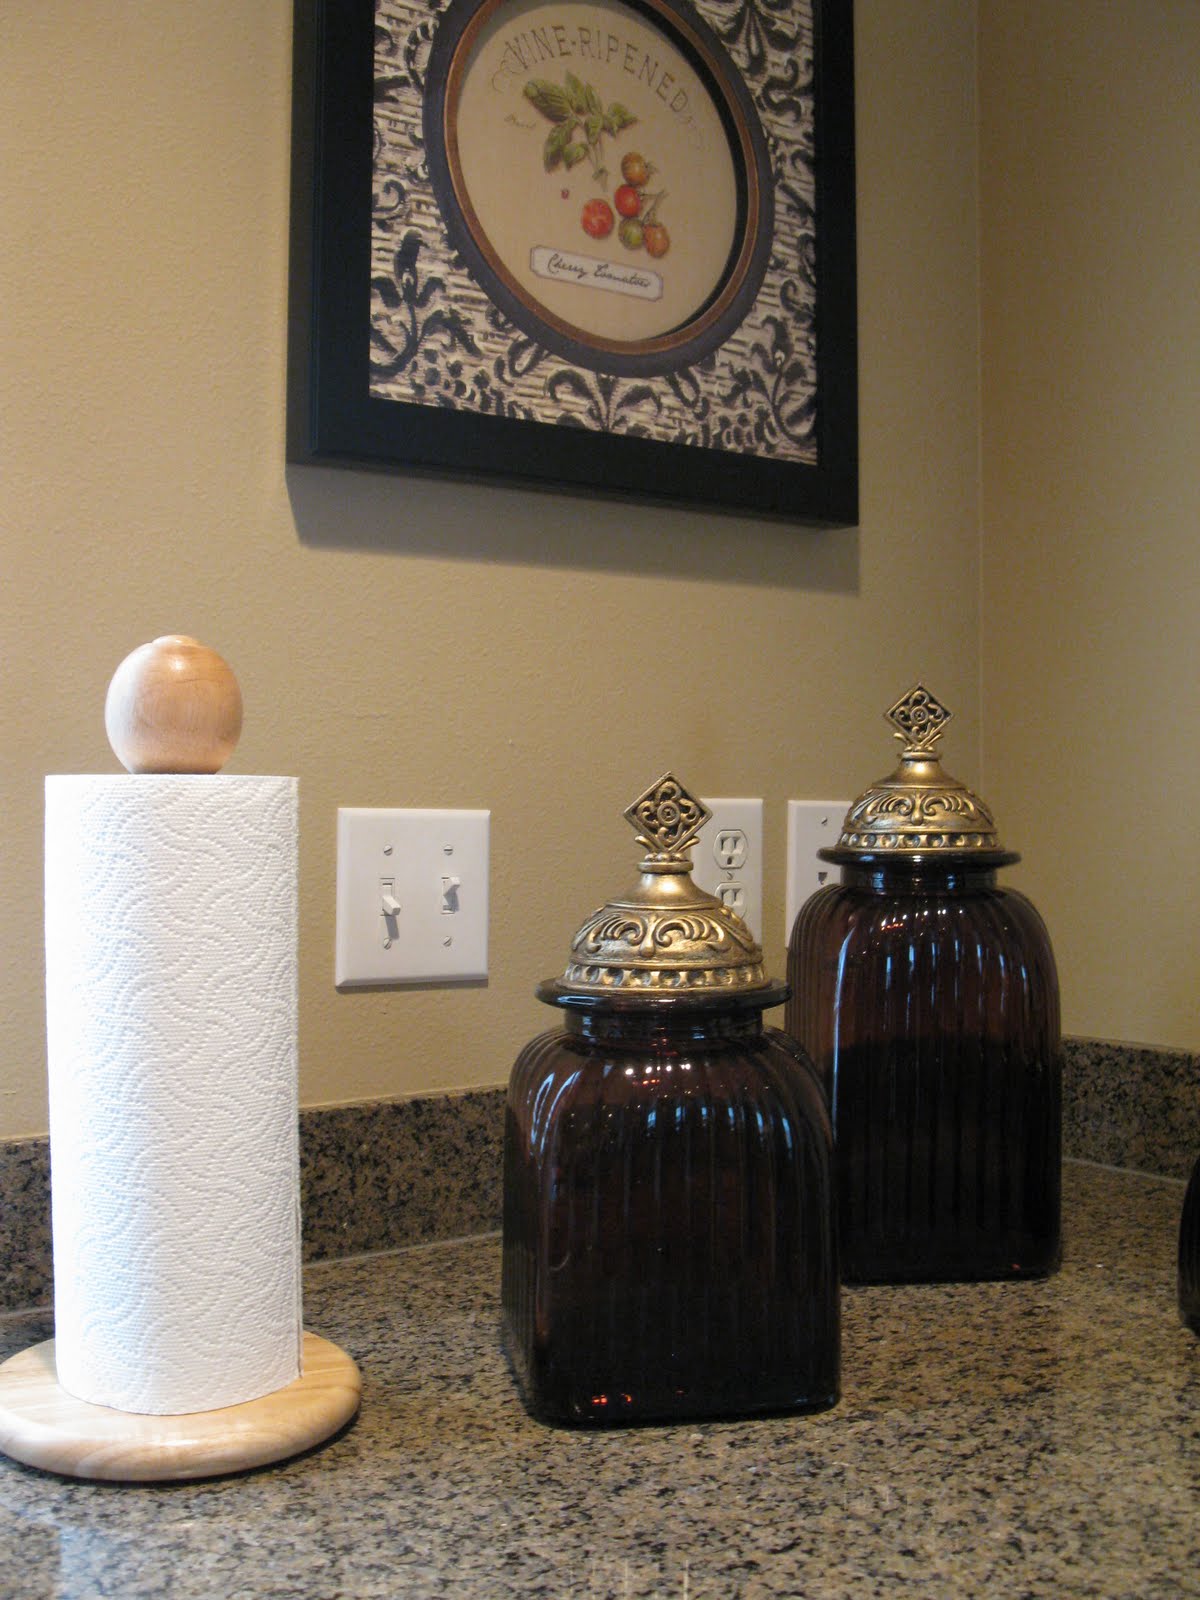
We ended up getting the matching nightstands too. I had thought about getting the white shade for the nightstands but Loren wasn't into it and I think getting the same dark brown/black color was the right choice.

That's the long overdue update with our bedroom. So far we've been liking the furniture, I especially like the nightstands. I was previously using a hand-me-down end table so I love having drawers! The new year has given me a little giddy-up to get busy on finishing up the bedroom so I'll be back with more updates soon! 

The Longest Project Ever

Monday, December 3, 2012

This was truly the longest project I've ever worked on for our home. It started earlier this year when I decided to make some wall art for the guest bedroom. I had seen a few projects on Pinterest that involved using a doormat as a stencil so I thought I'd give that a whirl. I picked up my supplies at Lowe's (a rubber doormat, white spray paint, and the wood boards) and got to work. I started by spray painting the boards with some oil-rubbed bronze spray that I already had on hand.


After that paint was dry, I put the doormat down and sprayed the white paint over top.


I think this where things went downhill. The doormat was much bigger than our wood pieces so it didn't create a good border and the white paint got underneath the mat. The lines were all fuzzy and in general, the look just didn't turn out as I had hoped it would.


Since plan A didn't work out, it was time to think about plan B. After pouting and thinking about it for awhile (and by awhile, I'd say it was about six months) I decided to try using an actually stencil. I repainted the all the boards a nice clean white and then got the stencil out. I just picked up the stencil at Michael's, it's nothing fancy or special ordered.


After the stencil was taped in place, I started painting. I used three different colors of cheapie acrylic craft paint and used a foam "brush". I don't seem to have a picture of the tool I used but it was more of a "dabber". It helped keep the paint from seeping under the circles on the stencil. I adjusted the stencil on each of the boards so all three are slightly different.


Once the painting was done I wrapped the edges in a brown satin ribbon using my hot glue gun (a little trick I learned from my sister-in-law). Then I was finally done, and it was time to hang them up.


So that's the end of the journey with this little project. I'm still undecided on if I really love them or not, but they're working for now and helping take some of the echo out of the guest bedroom. We'll see how long they stay. :) Anyone else been working on a super long drawn out project? I hope I'm not the only one!

DIY Chalkboard

Tuesday, March 27, 2012

I volunteer to hang out with a kiddo a couple times a month and this time we'd decided that doing something crafty would be a fun way to spend our time together. I'd done some research ahead of time and thought that making our own hanging chalkboards was something that was age appropriate and able to be completed within a couple hours time. I followed a tutorial found here and gathered all my supplies from Hobby Lobby.


I prepped the area that we were going to do our painting in and then headed outside to mix the paint. The grout is really dusty so being in a well ventilated area is a must. I just used a plastic cup to put the grout and paint in which worked just fine.


You have to make sure to mix the grout and paint together really well. I noticed that it was a pretty watery consistency so there were a few little splashes of paint that escaped the cup. The marks washed right up but just wanted to put that warning out there. Once it was mixed, we got busy painting. I'd purchased pre-cut little wooden boards so it was pretty quick to cover the entire surface with a nice layer of paint.


After painting is complete, you let the surface dry and then it's time to "slate" the surface. You just have to rub a piece of chalk all along the board and then wipe it off.


Easy! Then you're able to write on the chalkboard. I also hot glued a cute piece of ribbon the back of the board so it's easy to hang up.

I think it turned out really cute but truthfully I don't really have a place to hang up a bright purple chalkboard. Maybe I'll take it into work someday or something. It was a fun little activity though, and easy to do with a kiddo (I will say that I did all the measuring though). What do you think of it? Anyone else dabbled in colored chalkboard paint? Share in the comments below! :)

Pinterest Challenge - Tray

Wednesday, March 14, 2012

It's time for another Pinterest Challenge hosted by Bower Power and Young House Love! I decided it was a good time to finish up a project I'd stalled out on awhile ago based on some pretty pictures I found on Pinterest.

Remember a very long time ago when I showed you some items I scored at Goodwill? Well, I finally got around to working on this super gorgeous tray that I picked up.

I actually started working on it months ago. I tried to paint it the lazy way and just went at it with a can of spray paint. That didn't work out so well. The coverage was crappy and I could tell it was going to take a little more effort.


I let the tray sit in the garage for a few months because I was too lazy to sand the tray down and start over. Once I finally got around to it I used a little sample of Valspar paint in the color "Cut Ruby" to repaint the tray. I think it took three coats of paint to get good coverage.

Next step was trying to figure out how to jazz the tray up a little bit. I didn't want it to be too crazy since it's already red and going to be sitting on the coffee table in our living room. I decided to put a little monogram in the center using some scrapbook paper. Loren helped me get things lined up, I did a test print on white paper, then finally went for the gold on the scrapbook sheet.


I couldn't find an exacto knife so I just cut the design out using scissors and tried to be careful. After I was done cutting I busted out the Modge Podge and stuck the paper down right in the center of the tray.


Once the Modge Podge was dry I did spray the entire tray with a layer of clear coat to protect everything but I didn't get a picture. Sort of hard to take a picture of clear spray anyways! :) Here's the finished product on the coffee table:

I already loaded the tray up with some goodies that are normally scattered all over the coffee table. Lots of magazines (I have a subscription problem), the all important TV remote, and some coasters; I think it looks so much neater now that everything is corralled into one spot.


So that's the tale of my Goodwill tray. I'm happy to say that I'm finally done with it. Such a simple thing turned into a super long project. Anyone else ever have that problem? Or have you been completing any Pinterest inspired projects? Let me know in the comments! :)

Striped.

Tuesday, October 25, 2011

Our half bathroom has been in need of repainting for quite awhile. I had originally painted the bathroom at the last minute with some flat finish paint that I already had on hand and it wasn't holding up well in the space. Here's a refresher of what it looked like:


I'd been thinking that painting stripes on the walls might be cool but was a little overwhelmed thinking of it (I'm not the greatest with the painter's tape). Anyway, over the weekend I decided to give it a whirl. I purchased two quarts of Valspar paint from Lowe's - one in Dove White and one color matched to Sherwin William's Urban Putty.


I cleaned out the bathroom and then painted the walls with the Urban Putty color. It was late so I let it dry over night. I forgot to take a picture after that but really...it wasn't very exciting. Then it was time to start the taping. To make my lines, I followed an equation I found on Young House Love and it was pretty easy to figure out. I wanted six Urban Putty colored stripes and five Dove White stripes (so, eleven total). To figure out the size it was the height of the wall in inches divided by the number of stripes, mine stripe width turned out to be about 8.5 inches. I measured the spaces and marked it with a pencil. I ended up making a few marks on each wall so I could line the tape up better. Then after HOURS of taping I was finally done with that mess. It probably wouldn't have taken that long but I had to take a lot of breaks.


After painting two coats of Dove White paint, I was finally done painting. I pulled the tape off to help avoid paint peeling and let it dry overnight. When I saw the stripes the next day I was so excited. I really love the way it turned out. The stripes just add a little bit of spunk to the space - check it out.


So that was my DIY adventure over the weekend? Anyone else been busy painting? Or have you ever striped anything before? Does anyone hate that blue tape as much as I do!? :)

Coffee Table Re-do

Thursday, September 29, 2011

The coffee table in our living has been looking a hot mess for quite some time. I talked about getting a new one or refinishing it for months. It's actually possible that it was even longer than that. We purchased the table at Pier 1 right after we got married and really it's held up pretty well. We're not real gentle with our furniture and eat on that table surface almost everyday. No coasters under drinks and using Clorox wipes to clean it off (whoopsie!) led to a table top surface was chipping and ugly. At first it was just a few little nicks that I could fill in with a furniture repair marker but after awhile the nicks got so large that it looked like our table top was completely colored with marker! Haha!


See? Not pretty. I finally got up the gumption to tackle the sucker. I even sanded it myself (which is pretty much a miracle)! I don't want to go into all the nitty, gritty details of how I did the refinishing since I've talked about it a few times before with the dresser and nightstands. It was just a basic process of sand, prime, paint, and poly. Here's some photos of the process (in order): primed, one paint coat, second paint coat.


I let poly coat dry outside for a few days. I could've brought it back in the house sooner than that I'm sure but I wanted to keep everything off the table and the easiest way to do that was keep it in the garage. Plus, we've been having fun sitting on the floor and eating dinner in front of the TV. I don't know why that's fun but it is. I'll also mention that I only did one coat of poly. I didn't want the table to be super shiny but if I notice that it's getting scratched up then I'll probably add another coat.

A few more little tidbits about the project - it was completely FREE! All the materials I used I already had on hand at home which was a lovely little bonus. The second tidbit is that I was originally planning to use a crackle craft paint along the inner edge of the table. There are some "stone" looking pieces there and I wanted to keep them looking stone like. Once I got the black paint on the though I felt like a creamy, stony stripe might look a little like an 80's flashback so I bagged that idea.

I'm loving the "new" coffee table in the living room. It looks so much nicer and cleaner just because the top isn't all scuffed up. Plus, I can use my DIY coasters to protect the table from yuckiness again. :)


Anyone else been refinishing furniture? Or eating dinner on the floor? :) Let me know in the comments below (hey! That rhymes!).

Bronzed

Monday, September 19, 2011

The other day I noticed that our paper towel holder was looking pretty ugly. I mean, not that I've ever seen a pretty paper towel holder but ours was looking extra ugly. It dawned on me it was because it stuck out so much in our kitchen.


Everything else is darker and the light wood tone just wasn't working for me...seemed like the perfect occasion to try out some oil-rubbed bronze spray paint. I've heard lots of good things about ORB so I was pretty excited to give it a try. I chose the Rust-oleum Universal Paint & Primer in One.


I got everything setup in the garage to start spraying. I had to rig the post that the towels go on from the ceiling. I couldn't figure out how to get the spray paint on all the surfaces at the same time other than hanging it. I was pretty impressed with my zip-tie skills. Haha! It worked like a charm though; I was able to get nice even coats on all sides and leave it hanging to dry.


Here's the finished product back in the kitchen. Great improvement I think! It's obviously not the most exciting thing in the world...since it holds paper towels but it looks a lot better!


I do really love the finish though. It's amazing how bronze it actually looks since it's just a spray paint. I sort of want to spray everything I see with it. Anyone else been on an ORB kick lately? If you have the urge I'd totally recommend this paint. Let me here about your projects in the comments.
 
template design by Studio Mommy (© copyright 2015)