Pages

Showing posts with label Bargains. Show all posts

Pinterest Challenge - Tray

Wednesday, March 14, 2012

It's time for another Pinterest Challenge hosted by Bower Power and Young House Love! I decided it was a good time to finish up a project I'd stalled out on awhile ago based on some pretty pictures I found on Pinterest.

Remember a very long time ago when I showed you some items I scored at Goodwill? Well, I finally got around to working on this super gorgeous tray that I picked up.

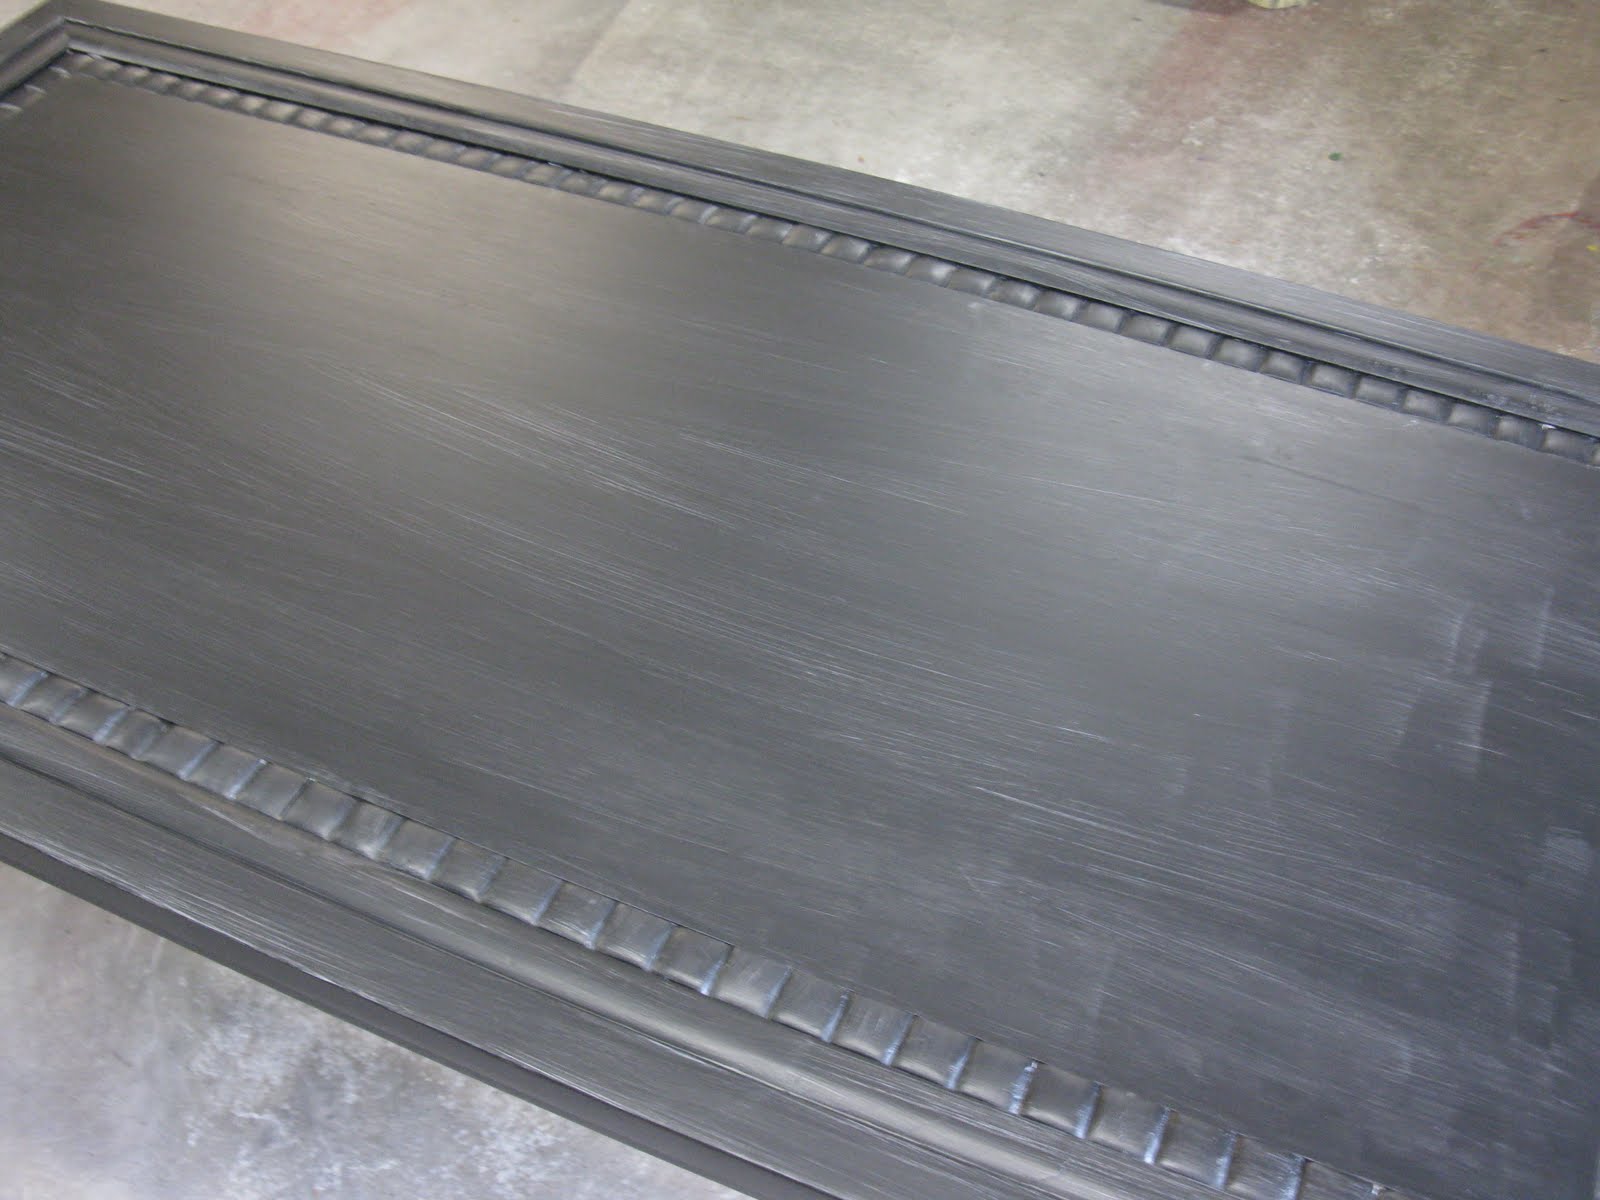
I actually started working on it months ago. I tried to paint it the lazy way and just went at it with a can of spray paint. That didn't work out so well. The coverage was crappy and I could tell it was going to take a little more effort.


I let the tray sit in the garage for a few months because I was too lazy to sand the tray down and start over. Once I finally got around to it I used a little sample of Valspar paint in the color "Cut Ruby" to repaint the tray. I think it took three coats of paint to get good coverage.

Next step was trying to figure out how to jazz the tray up a little bit. I didn't want it to be too crazy since it's already red and going to be sitting on the coffee table in our living room. I decided to put a little monogram in the center using some scrapbook paper. Loren helped me get things lined up, I did a test print on white paper, then finally went for the gold on the scrapbook sheet.


I couldn't find an exacto knife so I just cut the design out using scissors and tried to be careful. After I was done cutting I busted out the Modge Podge and stuck the paper down right in the center of the tray.


Once the Modge Podge was dry I did spray the entire tray with a layer of clear coat to protect everything but I didn't get a picture. Sort of hard to take a picture of clear spray anyways! :) Here's the finished product on the coffee table:

I already loaded the tray up with some goodies that are normally scattered all over the coffee table. Lots of magazines (I have a subscription problem), the all important TV remote, and some coasters; I think it looks so much neater now that everything is corralled into one spot.


So that's the tale of my Goodwill tray. I'm happy to say that I'm finally done with it. Such a simple thing turned into a super long project. Anyone else ever have that problem? Or have you been completing any Pinterest inspired projects? Let me know in the comments! :)

Coffee Table Re-do

Thursday, September 29, 2011

The coffee table in our living has been looking a hot mess for quite some time. I talked about getting a new one or refinishing it for months. It's actually possible that it was even longer than that. We purchased the table at Pier 1 right after we got married and really it's held up pretty well. We're not real gentle with our furniture and eat on that table surface almost everyday. No coasters under drinks and using Clorox wipes to clean it off (whoopsie!) led to a table top surface was chipping and ugly. At first it was just a few little nicks that I could fill in with a furniture repair marker but after awhile the nicks got so large that it looked like our table top was completely colored with marker! Haha!


See? Not pretty. I finally got up the gumption to tackle the sucker. I even sanded it myself (which is pretty much a miracle)! I don't want to go into all the nitty, gritty details of how I did the refinishing since I've talked about it a few times before with the dresser and nightstands. It was just a basic process of sand, prime, paint, and poly. Here's some photos of the process (in order): primed, one paint coat, second paint coat.


I let poly coat dry outside for a few days. I could've brought it back in the house sooner than that I'm sure but I wanted to keep everything off the table and the easiest way to do that was keep it in the garage. Plus, we've been having fun sitting on the floor and eating dinner in front of the TV. I don't know why that's fun but it is. I'll also mention that I only did one coat of poly. I didn't want the table to be super shiny but if I notice that it's getting scratched up then I'll probably add another coat.

A few more little tidbits about the project - it was completely FREE! All the materials I used I already had on hand at home which was a lovely little bonus. The second tidbit is that I was originally planning to use a crackle craft paint along the inner edge of the table. There are some "stone" looking pieces there and I wanted to keep them looking stone like. Once I got the black paint on the though I felt like a creamy, stony stripe might look a little like an 80's flashback so I bagged that idea.

I'm loving the "new" coffee table in the living room. It looks so much nicer and cleaner just because the top isn't all scuffed up. Plus, I can use my DIY coasters to protect the table from yuckiness again. :)


Anyone else been refinishing furniture? Or eating dinner on the floor? :) Let me know in the comments below (hey! That rhymes!).

Red Light Special

Thursday, August 25, 2011

I mentioned earlier in the week that I had scored some lovely priced, highly ugly lamps at Goodwill; now I'm back to show you what they look like post makeover. Just for a reminder, here's what I was working with:


Pretty, huh?! And to add to the supreme beauty of these lamps they both had a big, old sticker on the sides.


The sticky came off pretty easy. I tried to just scrub it off using Goo-Gone but that wasn't cutting it. So I saturated the area with Goo-Gone and then scraped it off. I might have used a butter knife to scrap it. The knife did the trick and I was left with a nice, smooth surface.


I got the lamps all prepped for painting out in the garage. I covered the cord and light bulb spot with aluminum foil. I can't remember where I originally saw this aluminum foil idea but it works really well. It was a lot easier to bend into all the little nooks and crannies than painter's tape would have been (easier to remove too). To allow me to reach the entire finial I set them on screws that were poked through an old canvas.


Once I was all prepped, I busted out my trusty ol' Rustoleum spray paint in Crimson Red. It took a little over one can and four coats of paint to cover the surface nice and even. I probably could have saved a coat or two by priming the lamps first but that didn't occur to me until I'd already started painting. Whoopsie. I am terrible at remembering to prime things. Someday I'll learn. And, paint might have gone over the edge of the drop cloth. Loren's thrilled. Another whoopsie! :)


I bought a couple lamp shades from Lowe's but they ended up being WAY too big so I returned them. Worked out for the best. I had two different lamp shades sitting around the house that I could try.


I ended up going with the warmer toned one that also has a subtle floral print on the shade (the picture on the right). I'm not convinced it's the best fit ever but it'll be fine until I find a better option. Just look how cozy these lamps make the guest room look:


So nice! I hope our guests enjoy being able to cozy up with a book before nodding off and NOT having to get up to turn the light off. That's the story of the Goodwill lamps. The total cost was around $20: $6 for the lamps and $14 for the spray paint (but I still have some leftover). Not too shabby for twenty-bucks huh?! Anyone else been working on lighting projects? Or maybe just spray painting everything in sight?! :)

Goodwill Haul

Monday, August 22, 2011

Last week after work I decided to make a quick stop into Goodwill. Loren was out of town so I was free to roam around as long as I wanted. I normally don't feel like I'm very lucky at finding good stuff at Goodwill but this time I think I hit that jackpot!


Here's a breakdown of my haul...my most exciting purchase was two lamps. I've been looking for a couple lamps for the guest bedroom but lamps are so darn pricey! I was so excited when I found two matching lamps, and even more excited when I saw that they were only $5.99 each! Then, the real awesomeness occurred - they were 50% off!! It was a pink tag sale and my little lamps had pink tags!! Winner, winner, chicken dinner! Two lamps for six buck-a-roos! Obviously they need a little sprucing but I've already started working on 'em and I'm hoping to be able to share the finished photos with you within the next day or two.


I also found a nice little tray. I'd been trying to find one to use on our coffee table but I wanted it to be cheap and have handles. The only trays I'd been seeing at T.J. Maxx had lots of big rhinestones on them. Not really what I was going for. But this Goodwill treasure with the fruit basket on the bottom? Perfect! :) Obviously it's not looking perfect but the size and price were right. $4.99 before the pink tag discount! Yay! So, we'll see what I can figure out for making this tray a little more appealing.


Next item is this pretty little vase. It was only $2.99!


All our vases are just plain ol' clear glass so I loved this silver one. Super pretty and classic looking. I already filled her up with a bouquet hubby bought me on our weekend trip to Pike Place Market. I love it!


My completely random Goodwill purchase was two shot glasses. One is from Pat O'Brien's in New Orleans and the other is from Myrtle Beach, SC. I picked them up as a silly surprise for Loren since we visited both places this year. He liked 'em!


That's a wrap on my recent Goodwill purchases. I think my total was just under $15. For now, my faith in Goodwill shopping has been restored! I love finding a good bargain! Anyone else found any awesome deals lately? Or do you tend to strike out when it comes to shopping at second-hand stores? Share your stories in the comments.
 
template design by Studio Mommy (© copyright 2015)